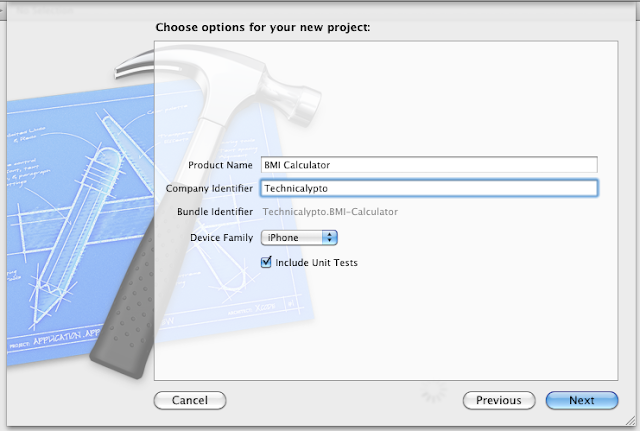
Welcome to the part 3 of the tutorial. You could be thinking, "what the hell did I learn in Part 2?" Well. Lets take one baby step at a time. The second part of the tutorial's project name read "Body Mass Index Calculator". But then I had to change it to helloworldXcode, the name would not mind much, but whatever you choose, choose it wiser.
On the left hand top side of the you should be able to see your project. Expand it and you should be seeing your interface file (.h), Implementation file (.m) and the UI file (.xib). Clicking on any of these will bring up the corresponding code or UI on the main panel.
Go ahead and select the .xib ViewController file. You should now see an empty Canvas appearing on the center of the editor where you can drag and drop stuff. For our body mass index we need few UILabels that are going to be static and few UILabels that are going to change dynamically on the user action.
For dragging and dropping components on to the View you should select the Object from the drop down on the right hand side bottom corner as shown below.
We also will need a couple of slider for selecting the height and weight. Already sounds cool eh? Here is a screenshot on what stuff you should be dragging and dropping on the center of the editor.
After dropping the elements which includes totally 9 labels and two sliders you should be aligning them like shown in the following screenshot. The placement of the labels depends totally on your imagination and creativity, but lets make it professional looking so that our application should sell at least a million times in the App store. That was a joke :)
You could notice that changing the names of the labels are very simple. Just double click on it and start typing as shown in the above screenshot. With this your basic set up of the view is complete, we just have a few more things left regarding the slider functionality, but we will cover it in the next section.
Cheers,
Braga


